After gradually heating the heat generator's burner to 600-800°C (1112-1472°F) over 6-8 hours, the dryer is started by first switching on the exhaust fan. If the control panel does not have a soft-start device or is not tuned for equipment with heavy rotors, it is recommended to fully close the louvers at the fan's entrance and open them only after the rotor reaches full speed. Once the hot air flows into the dryer, the temperature at both inlet and outlet begins to rise. Typically, the inlet temperature is initially maintained at 200-300°C (392-572°F), choosing a specific value within this range and setting the heat generator to maintain it automatically. When the outlet temperature reaches 70-90°C (158-194°F), feedstock is introduced into the dryer. For the very first start, it is better to process the material at lower temperatures without aiming for high-quality drying. The first batches will be discarded due to contamination, and the slightly damp biomass produces less dust and is less prone to spontaneous combustion. Wet feedstock is not fed into the hammer mills, preventing overloads.
The feedstock supply directly affects the temperature drop at the dryer's exit, but the reaction usually comes with a 2-3 minute delay. Thus, it is unwise to attempt to reduce the temperature too quickly by maximizing the feed rate. Instructions usually list approximate settings for the feeders to ensure the exit temperature stabilizes at 60-70°C (140-158°F). In this mode, the material should be processed for at least 15-20 minutes, unloading it bypassing the hammer mill and transporting it to the dump. This method "washes away" remaining metal impurities, cuttings, and fasteners from the drum.
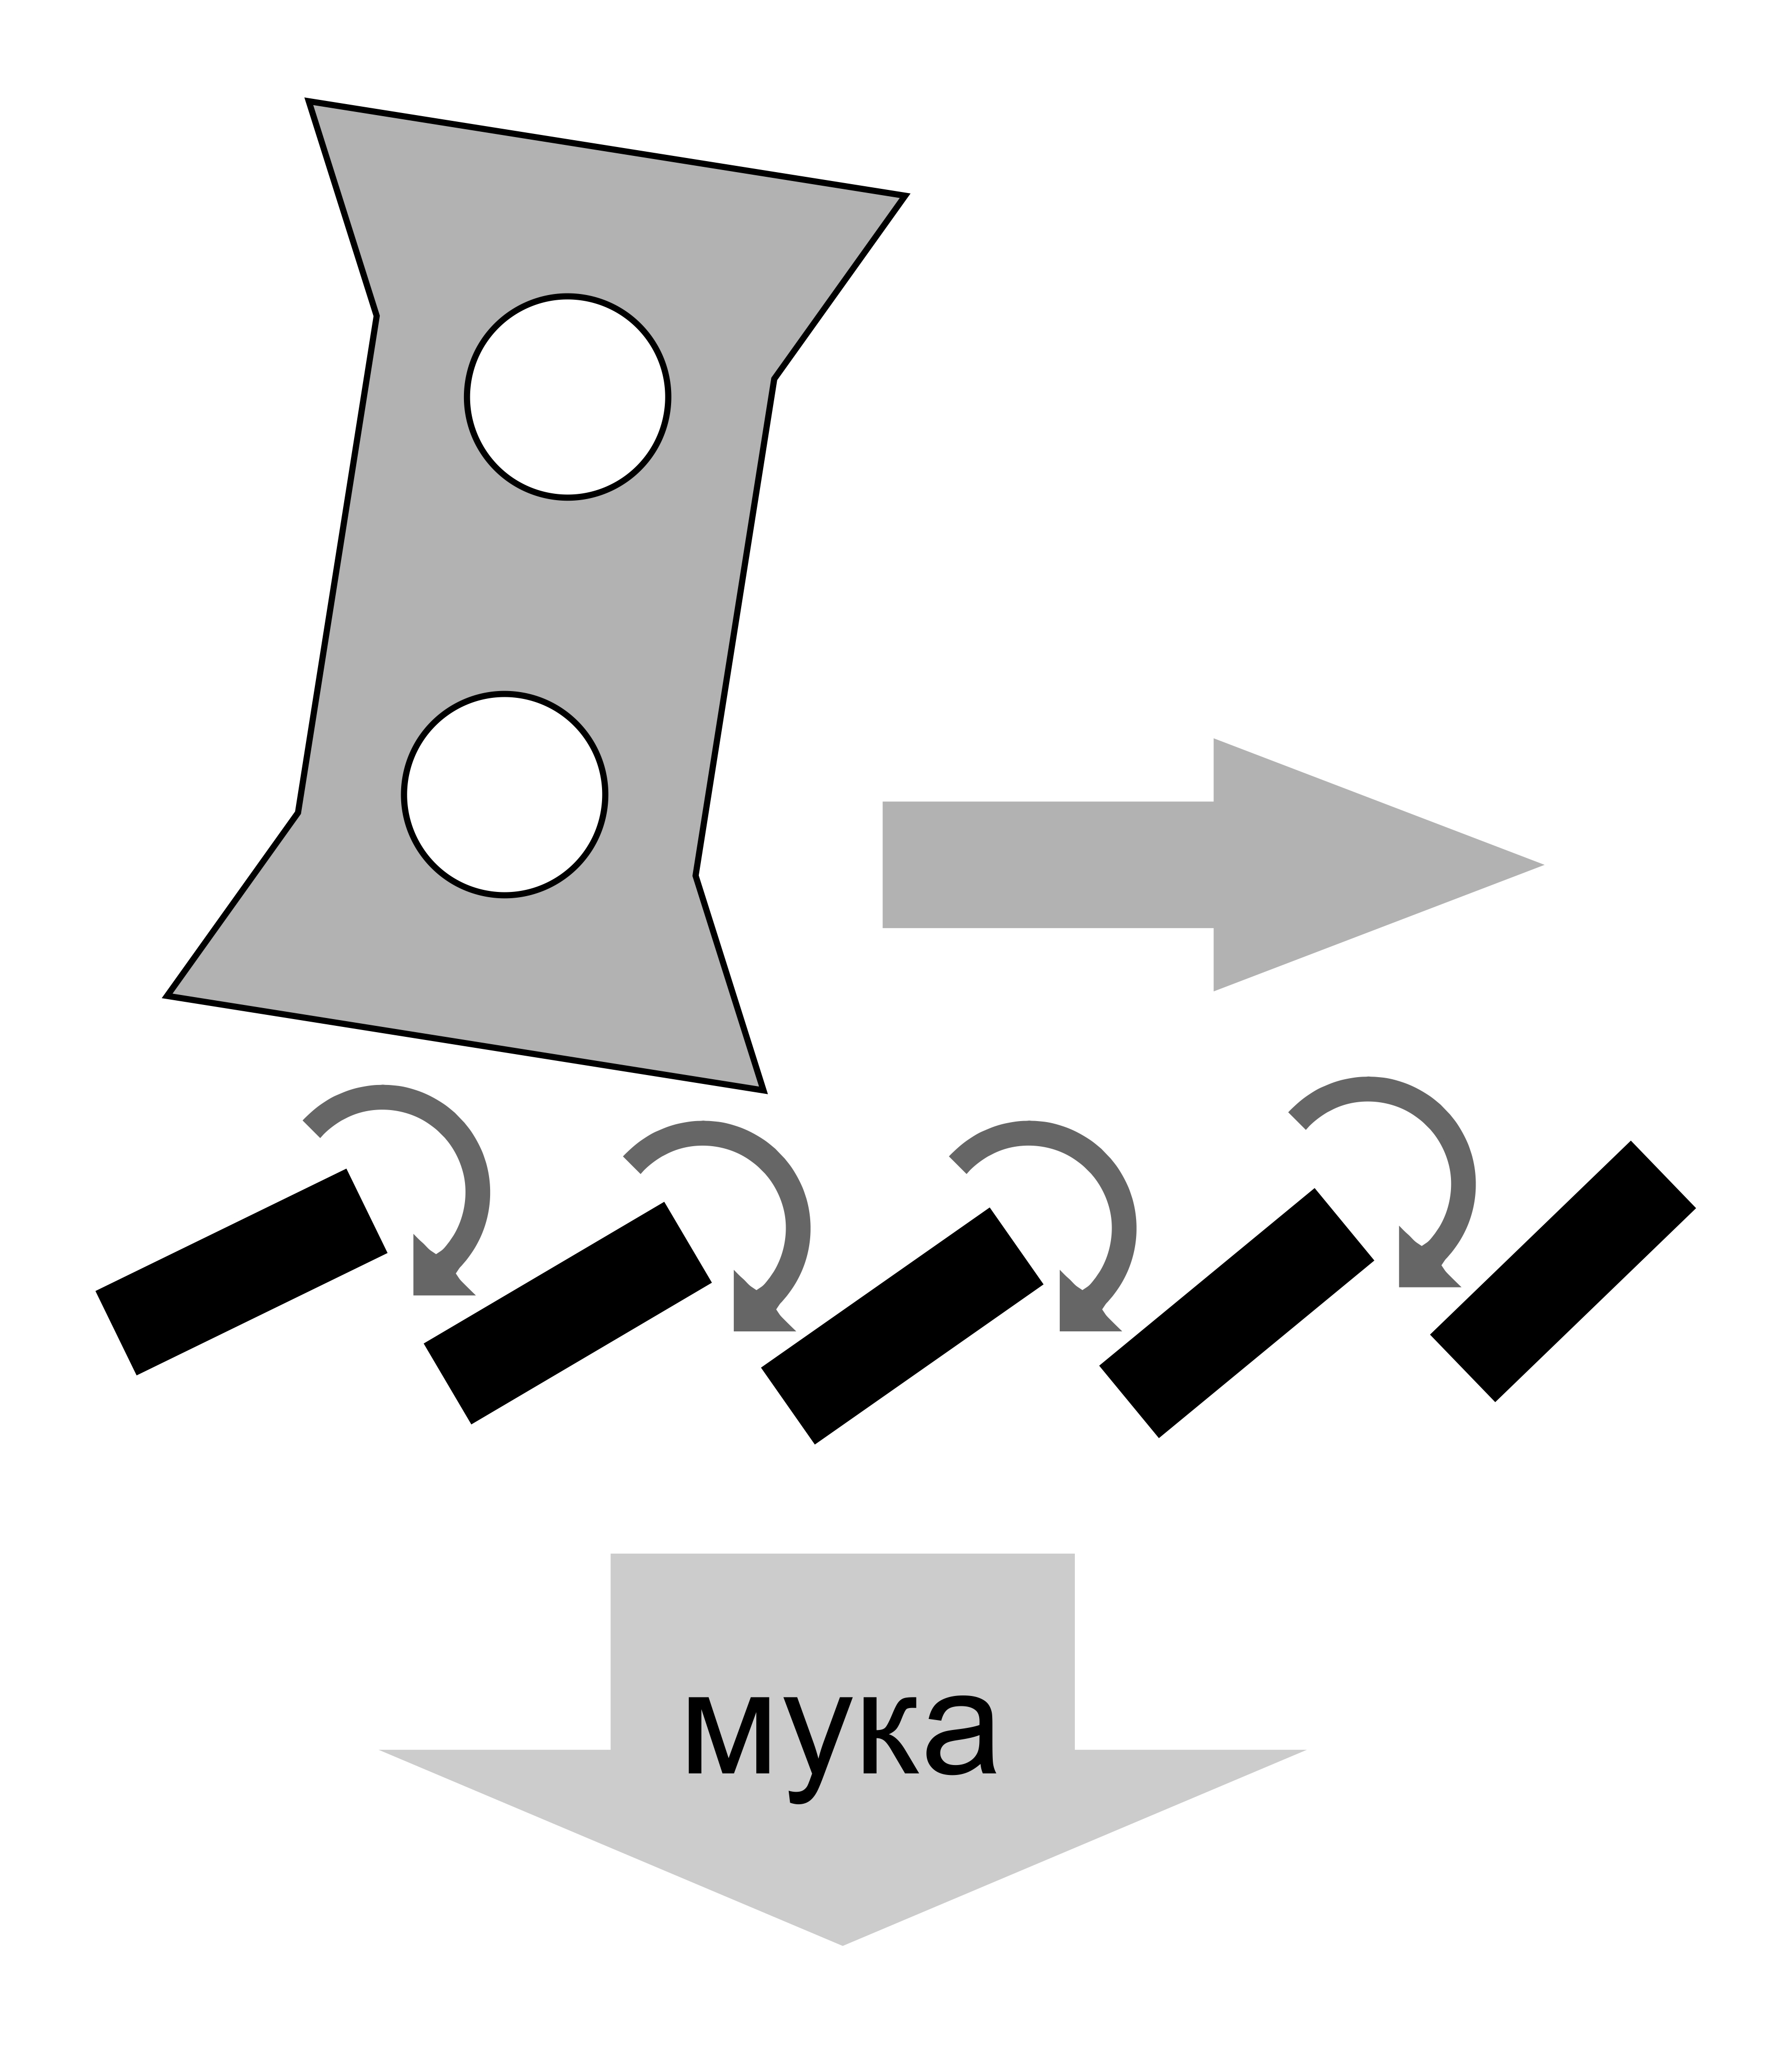
Next, the moisture content of the resulting sawdust must be measured, and if it does not exceed 12-15%, the material can be fed into the hammer mill. Higher moisture could cause increased load from insufficiently dried chips or clogging with fibers. While the ideal moisture content is usually 10-12% for high-quality pellets, higher initial moisture eases the start of the pellet mill with a new ring die. If the moisture content is 12% or less, water supply to the mixer-conditioner will be needed not only at the startup of the pellet mill but also during operation. Completely cutting off water, even with poor-quality pellets, could be risky.
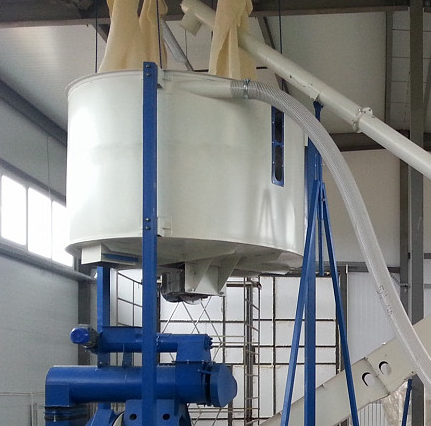
Once sawdust reaches the buffer hopper above the pellet mill, the mill should be checked again for the lubrication station's functionality, sensor signals, oil temperature, and secure door fastening. The pellet mill is then started and allowed to operate for at least 1 minute to ensure proper lubricant distribution in the gearbox and bearings. By this time, the buffer hopper is usually about halfway full, and the exciting moment of the first pellet appearance approaches.
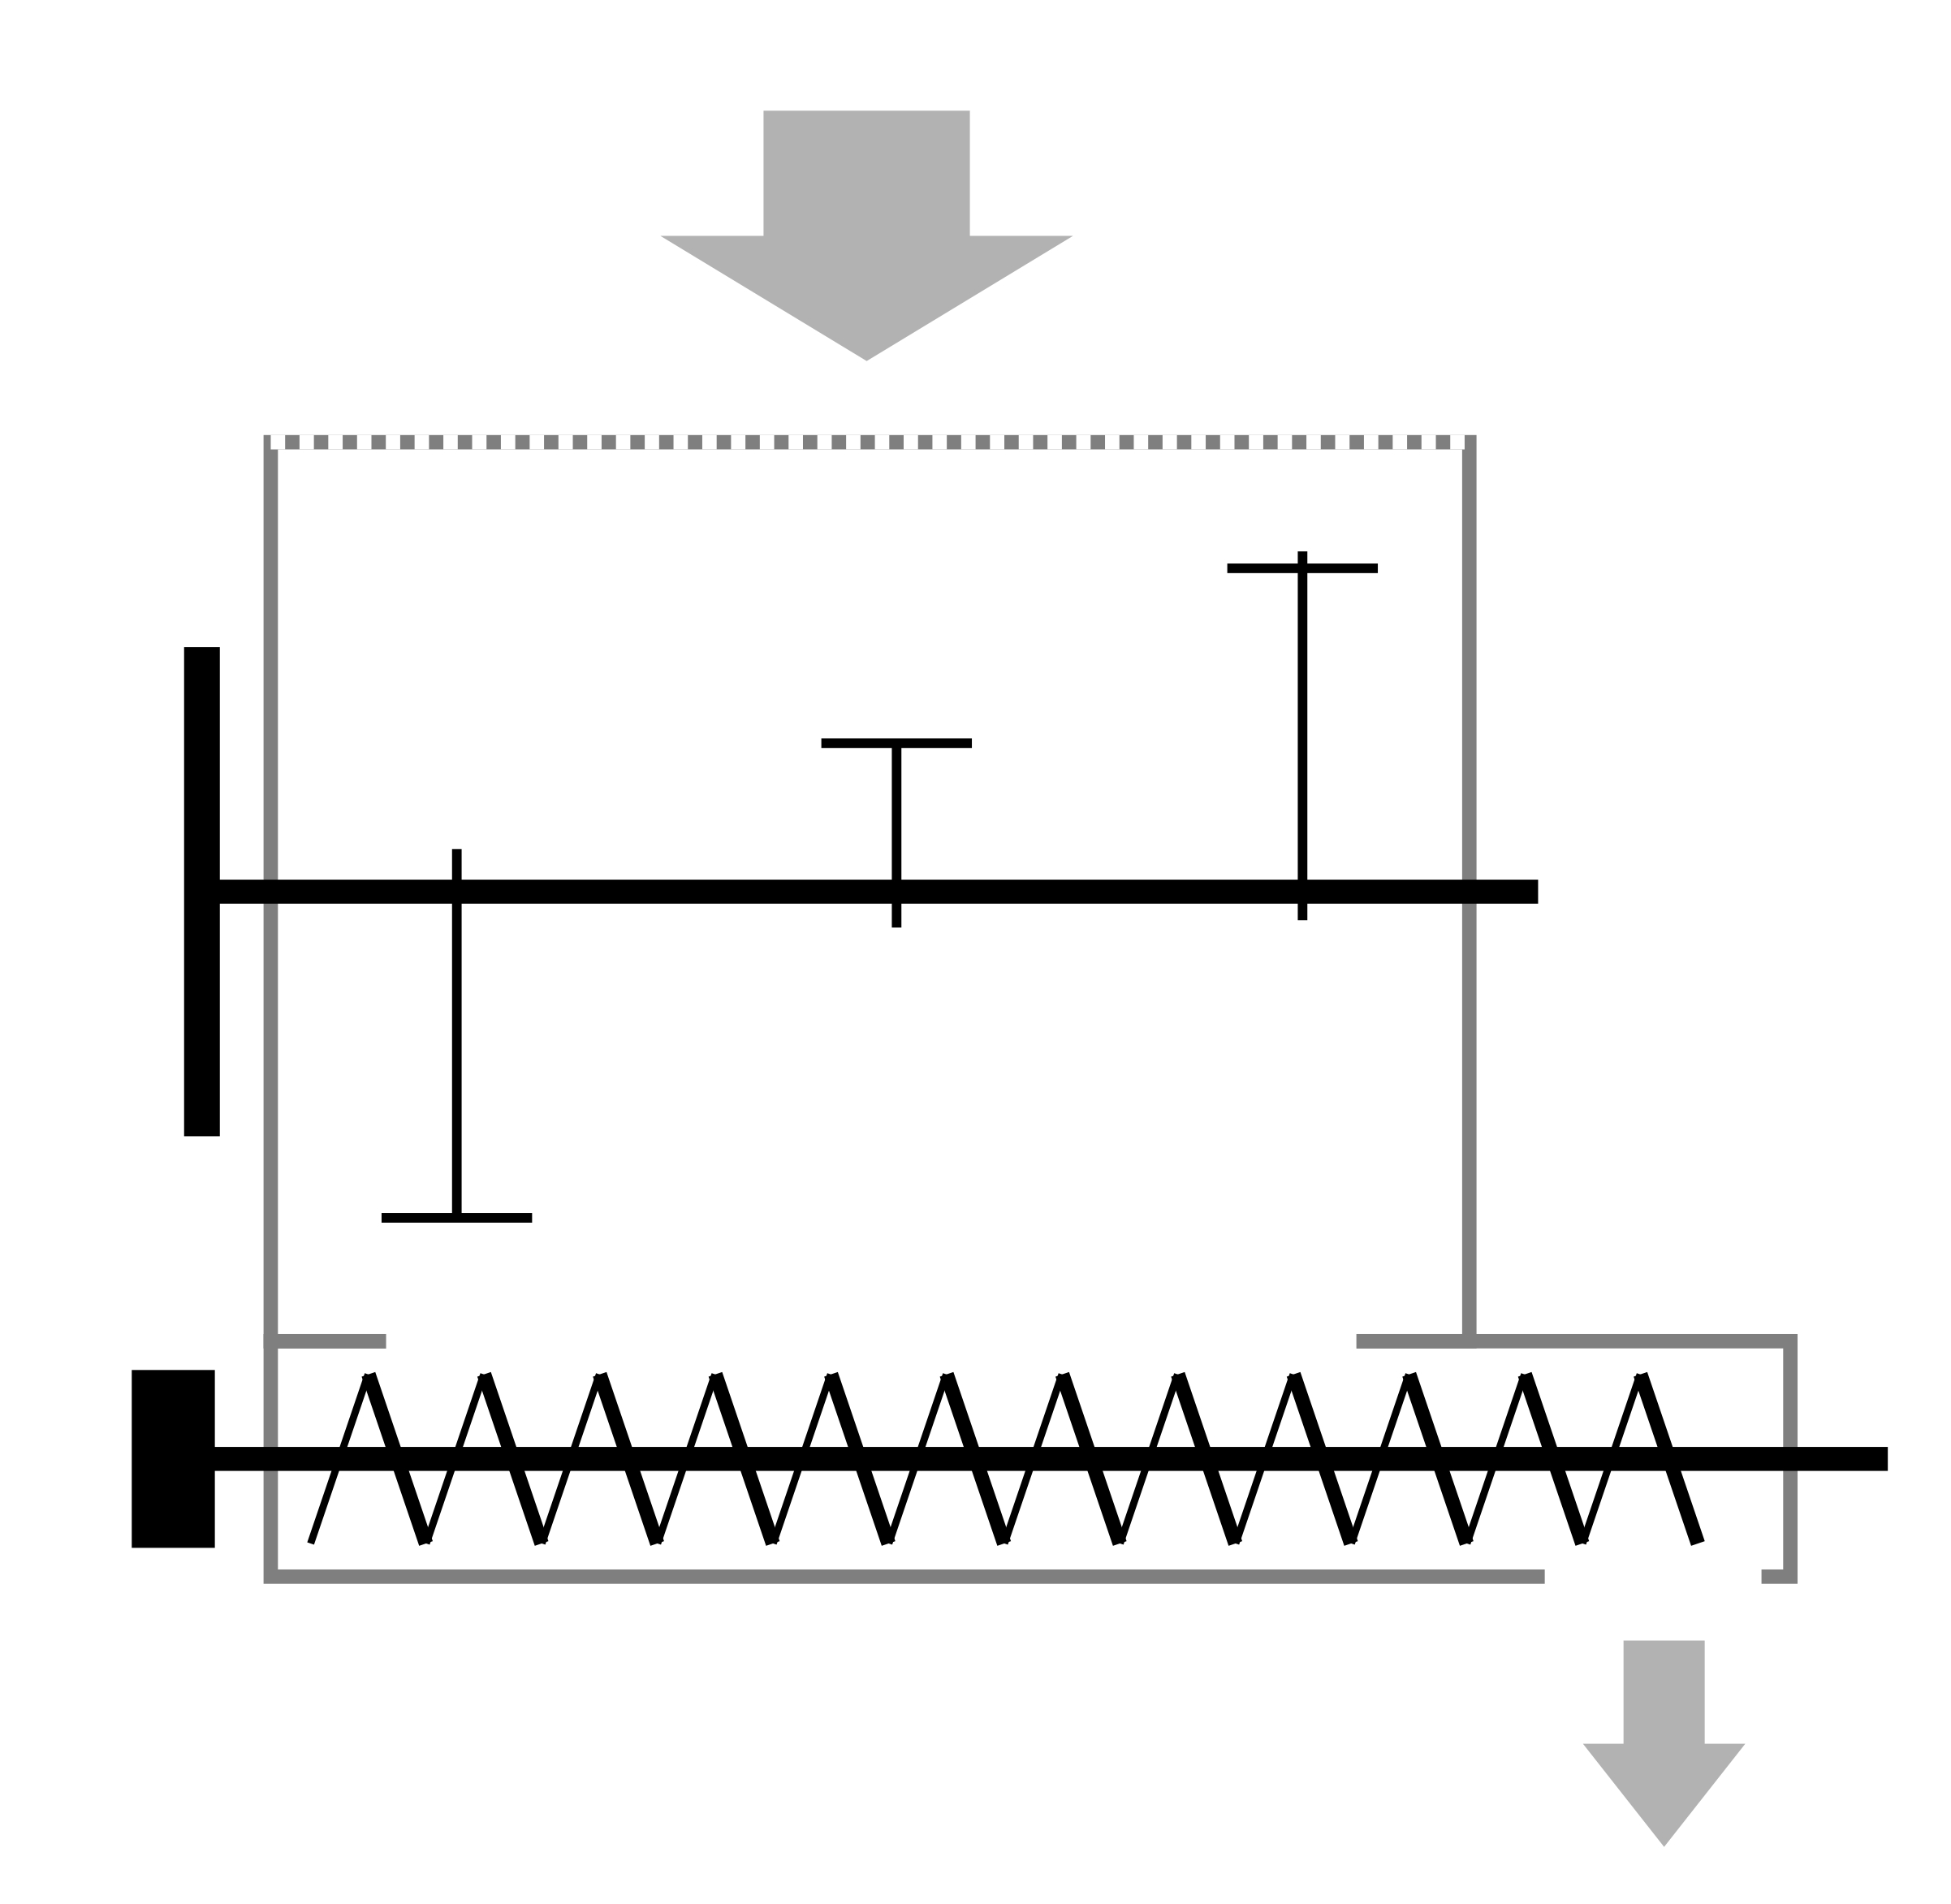
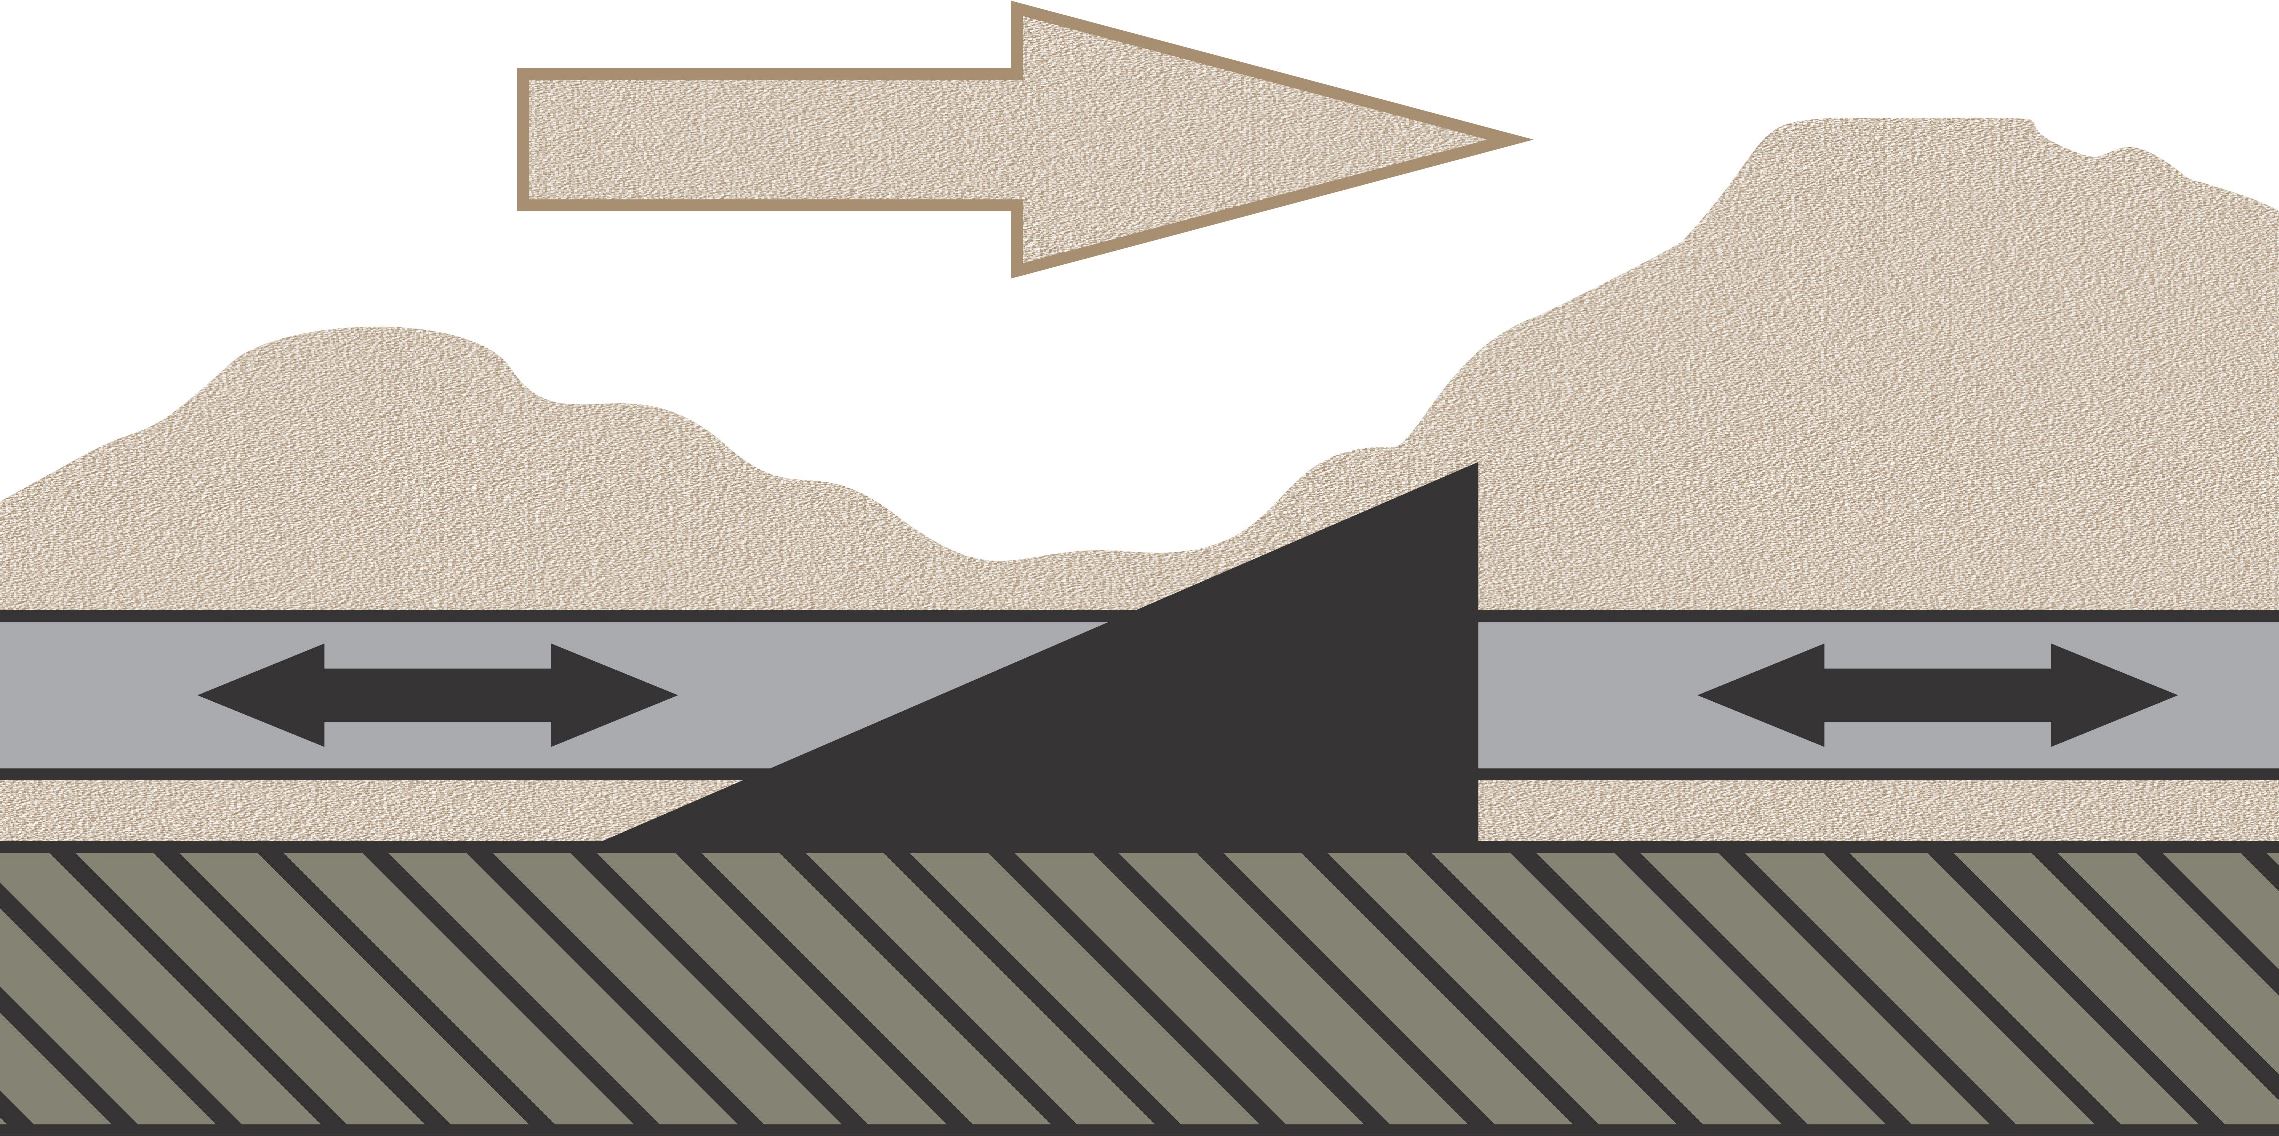
With water slightly flowing, set the pellet mill's feed rate to 3-5 Hz, ensuring all drives rotate, and nothing obstructs the feedstock passage. The pelleting chamber inspection port allows periodic checking if sawdust passes through the mixer and assessing feed uniformity. If the sawdust is too fine and the gap is set over 0.4 mm (0.016 inches), the sawdust friction might be insufficient for the rollers' rotation. This may cause a sudden load spike if excessive material accumulates in the die cavity. To prevent this, a handful of fine chips or loose pellets can be thrown into the inspection hatch to help the rollers start rolling, creating an initial small cake for secure engagement. The rollers' rotation becomes apparent through a distinctive sound and a slight increase in the main drive's load current. After the conservation mix is extruded, dense and attractive pellets emerge even with excess moisture. This moment often captivates everyone, causing them to overlook the control panel. It is, however, critical to monitor the load current, which should not significantly differ from idle current, and the ammeter needle should oscillate no more than 10-15% over several dozens of seconds.
If everything is done correctly, the pellet quickly becomes warm, and the load on the main drive noticeably decreases. At this point, you add 2-3 Hz and again observe the increased load. The pellet becomes hot, and cracks start appearing due to excess moisture, while the load decreases again. This way, gradually increasing the feed every few minutes, you step up both capacity and load. For the first start, it is advisable not to exceed 50% of the calculated capacity and pay more attention to the sounds of the pellet mill, the behavior of the raw material, and the load.
If the pellet becomes hot but no moisture cracks appear, you should open more water to reduce the load. Usually, at this point, steam starts to flow sharply, and the main drive current decreases. When you see pellets that appear to have "popped like popcorn," you should add more raw material to slightly reduce the average moisture. A common mistake during the first start and initial shifts is trying to produce the perfect pellet by minimizing moisture and causing ring die coking due to overheating. It is much more cautious to run the pellet mill at relatively high feeds, making up 70-80% of the calculated opportunity, producing pellets with many cracks but at least some surface glossiness. This way, the surface of the holes polishes faster and safer, and there is less chance that only the near or far rows of the die will operate.
Typically, within the first two hours of operation, the load begins to noticeably decrease, and you must increasingly add feed to keep the load above 50% of the nominal value. The pellet mill starts to demand more load. At this time, you can make your first attempt at producing high-quality pellets with high productivity. The water flow remains unchanged, and you add raw material intervals of 1-2 minutes, checking for a decreasing number of cracks. The closer the pellet is to ideal, the less frequent and smaller the raw material additions. For the first 2-3 shifts, it is considered normal if cracks are found in about every tenth pellet. At the same time, the pellet surface should be glossy and sticky to the touch. This means that the pellet has been fully steamed in the ring die, releasing binding substances like lignin and resins from the wood. Such a pellet will provide high dynamic strength indicators and acceptable bulk density in the range of 650-680 kg/m³ (40-43 lb/ft³) for coniferous raw material or birch.
Sometimes operators strive to achieve maximum bulk density by working at the lowest possible raw material moisture. The pellet does become dense and heavy like pebble with a bulk density of 720-730 kg/m³ (45-46 lb/ft³), but dynamic strength rarely reaches even 95% against the norm of 98.5%.
In general, after starting the pellet mill, it is preferable that something resembling a pellet spills out without the threat of an emergency stop. Once the ring die is heated and the pellet mill displays relatively stable operation, you can check the fullness of the damping hopper and, if necessary, increase the dryer capacity. For this, first increase the temperature at the drum's entrance, and as soon as the exit temperature begins to rise, increase the raw material feed. Over time, the operator's experience will show the delay needed from temperature increase to feed addition in the dryer, ensuring the exit temperature is maintained at the set value. It's necessary to regularly check the moisture of the raw material at the dryer exit and, ideally, adjust it so that the pellet mill allows for shutting off the water supply.
To shut off the water, you should reduce the raw material feed into the pellet mill by about 50% from the level at which stable work with cracked pellets occurred. If the moisture without water is sufficient, there should be no significant surge in the load, allowing you to increase the raw material feed back to nearly the previous level in 2-3 increments over 1-2 minutes.
Once the pellet covers the inner box of the louver cooler or touches the lower sensor of the counterflow cooler, you can turn on its fan and monitor the triggering of the discharge. The process needs to be recorded on video, and upon review, you should note the working and idle times at the granulator's steady state performance. If the idle time is noticeably less than the working time, and the granulator's output is only half of the target, you should pay attention to the feed rate frequency of the raw material into the pellet mill. Based on the time ratio, calculate the feed rate at which the cooler might overflow. When the pellet quality is good, check and, if necessary, adjust the increased pace of the cooler's discharge several times.
Further work with the equipment involves gradually increasing the processing speed at each stage. The more drying is required, the greater the temperature difference between the entrance and exit of the dryer. The pace of raw material storage filling is adjusted accordingly, but the dryer usually operates slightly slower than the pellet mill. Ideally, freshly dried material should immediately go into the pellet mill, and the visible impact of moisture on pellet quality allows for optimal dryer adjustment.
Initially, it is advisable to frequently walk around the entire plant during free moments and check the temperatures of bearings, seals, air ducts, and electric motors with a pyrometer. Often, this helps to save an overloaded motor when its protection is incorrectly set. Once the work pace is established, you should record both the production rate and the operating current load for each drive in the line. This seemingly mundane work can be very useful when comparing with subsequent changes in performance, type of raw material, weather conditions, and similar technological factors.